Home / Instructions
  • Backplate Placement

    Decide where the backplate should go by deciding what position you want to display your antler in. Mark the center of the screw holes.

    Shed Antler Display Kit Assemble Step 1 (Backplate Placement)
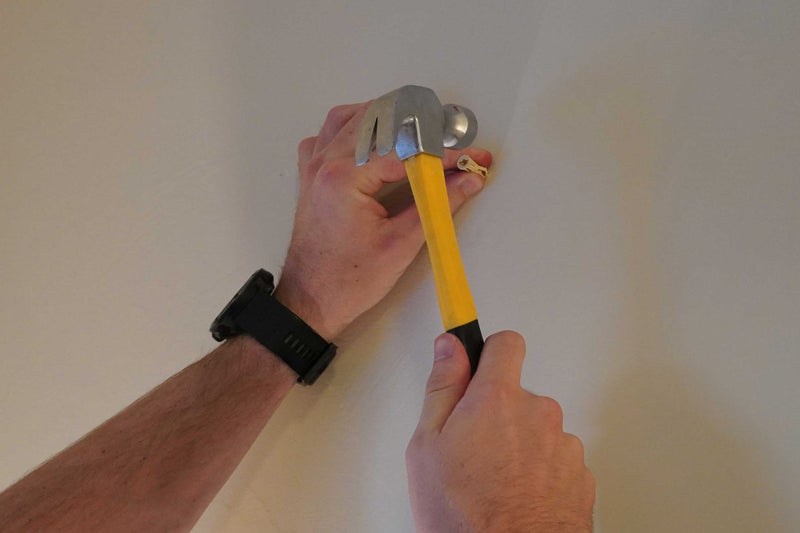
  • Install the Drywall Anchor

    If screwing into drywall, we recommend the use of the included dry wall anchors. Use a 3/16" drill bit to drill the pilot whole for the drywall anchor. Then use a hammer and pound the dry wall screw into the drilled hole so the drywall anchor is flush with the wall.

  • Attach Backplate

    Use the included 1" screws secure the backplate onto the wall using the predrilled holes/drywall anchors.

    Shed Antler Display Kit Assemble Step 2 (Attach Backplate))
  • Attach Leather Strap

    Pin one side of the leather strap to the metal pin and feed the rest of the strap through one metal bracket on the bottom of either side of the metal backplate.

    Shed Antler Display Kit Assemble Step 3 (Attach Leather Strap))
  • Wrangle Antler

    Wrap the strap around the antler and then feed through the adjacent metal bracket.

    Shed Antler Display Kit Assemble Step 4 (Wrangle Antler)
  • Secure Antler

    Gently pull so the antler is secure and in the desired position.

    Shed Antler Display Kit Assemble Step 5 (Secure Antler)
  • Pin Leather

    Use one of the pin holes in the leather strap to hold the antler in the desired position.

    Shed Antler Display Kit Assemble Step 6 (Pin Leather)
  • Deal With Excess

    Cut the strap to size or fold the strap and secure the excess by pinning the strap again.

    Shed Antler Display Kit Assemble Step 7 (Deal with Excess)

How to Video

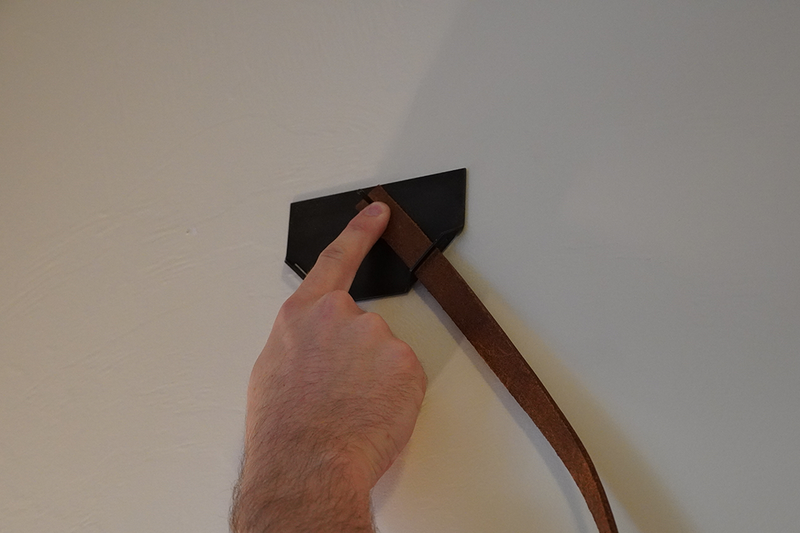
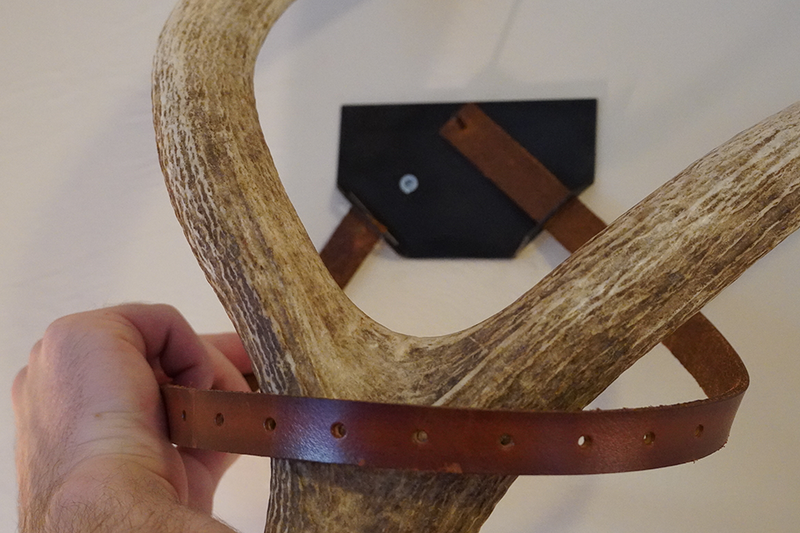
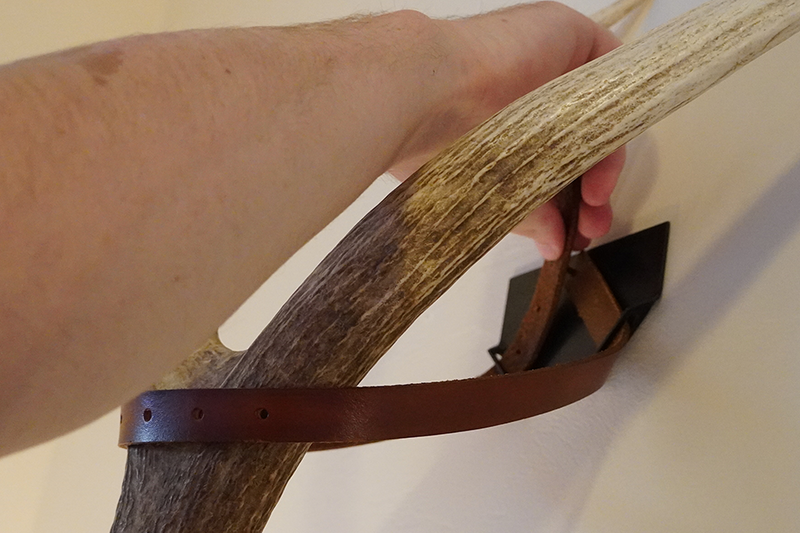
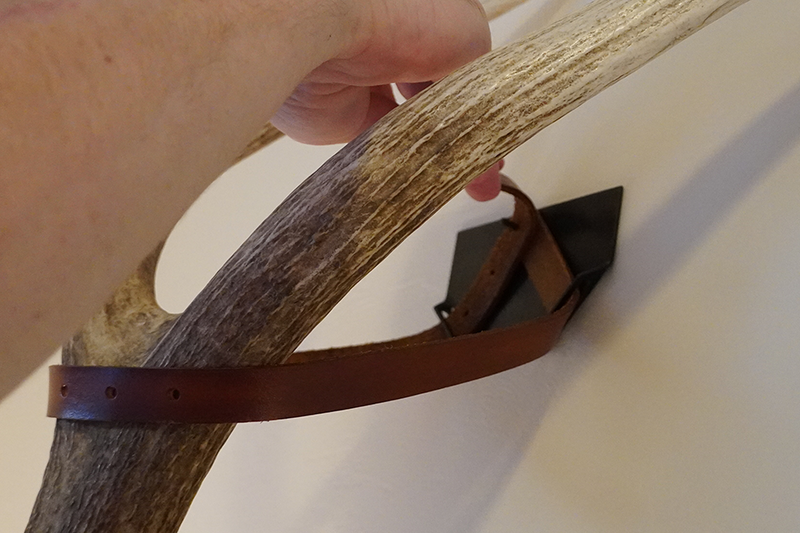
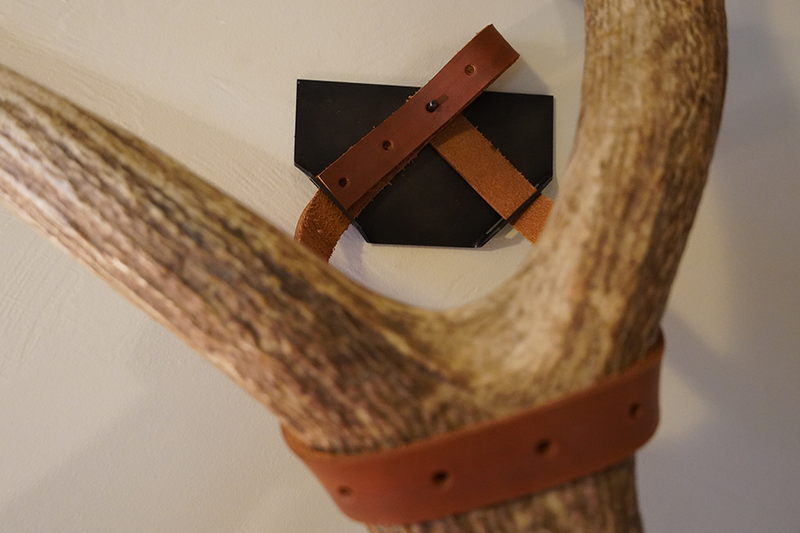
This video walks through how to display shed antlers with Shed Straps